Hello, dining room table! I forgot what you looked like, what with keeping you under a tablecloth for five years. You’re pretty nice! Enjoy the living room; you’re going to live in there today.
One-day job, guys. Say it with me. ONE DAY JOB. 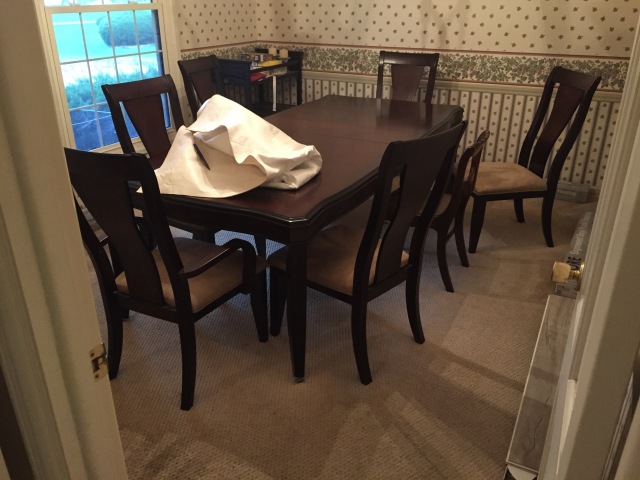
The blog of Luther M. Siler, teacher, author and local curmudgeon

Hello, dining room table! I forgot what you looked like, what with keeping you under a tablecloth for five years. You’re pretty nice! Enjoy the living room; you’re going to live in there today.
One-day job, guys. Say it with me. ONE DAY JOB.

No, not taking a nap. That was today. That’s what Thursdays are for lately. No, tomorrow I rip my dining room to shreds and put down new flooring. We’re gonna hope it goes well, because I sort of need for my dining room to have a floor. That’s a thing that’s important to me.
Updates, obviously, coming as it happens.
(After the floor, there will be sushi, and then Luke Cage. If everything goes right, it’ll be a really good day.)
The view from the doorway. Still some cleaning and straightening to do, obviously, and the books need to go back on the shelves, but:

There is a cat in this picture, by the way:

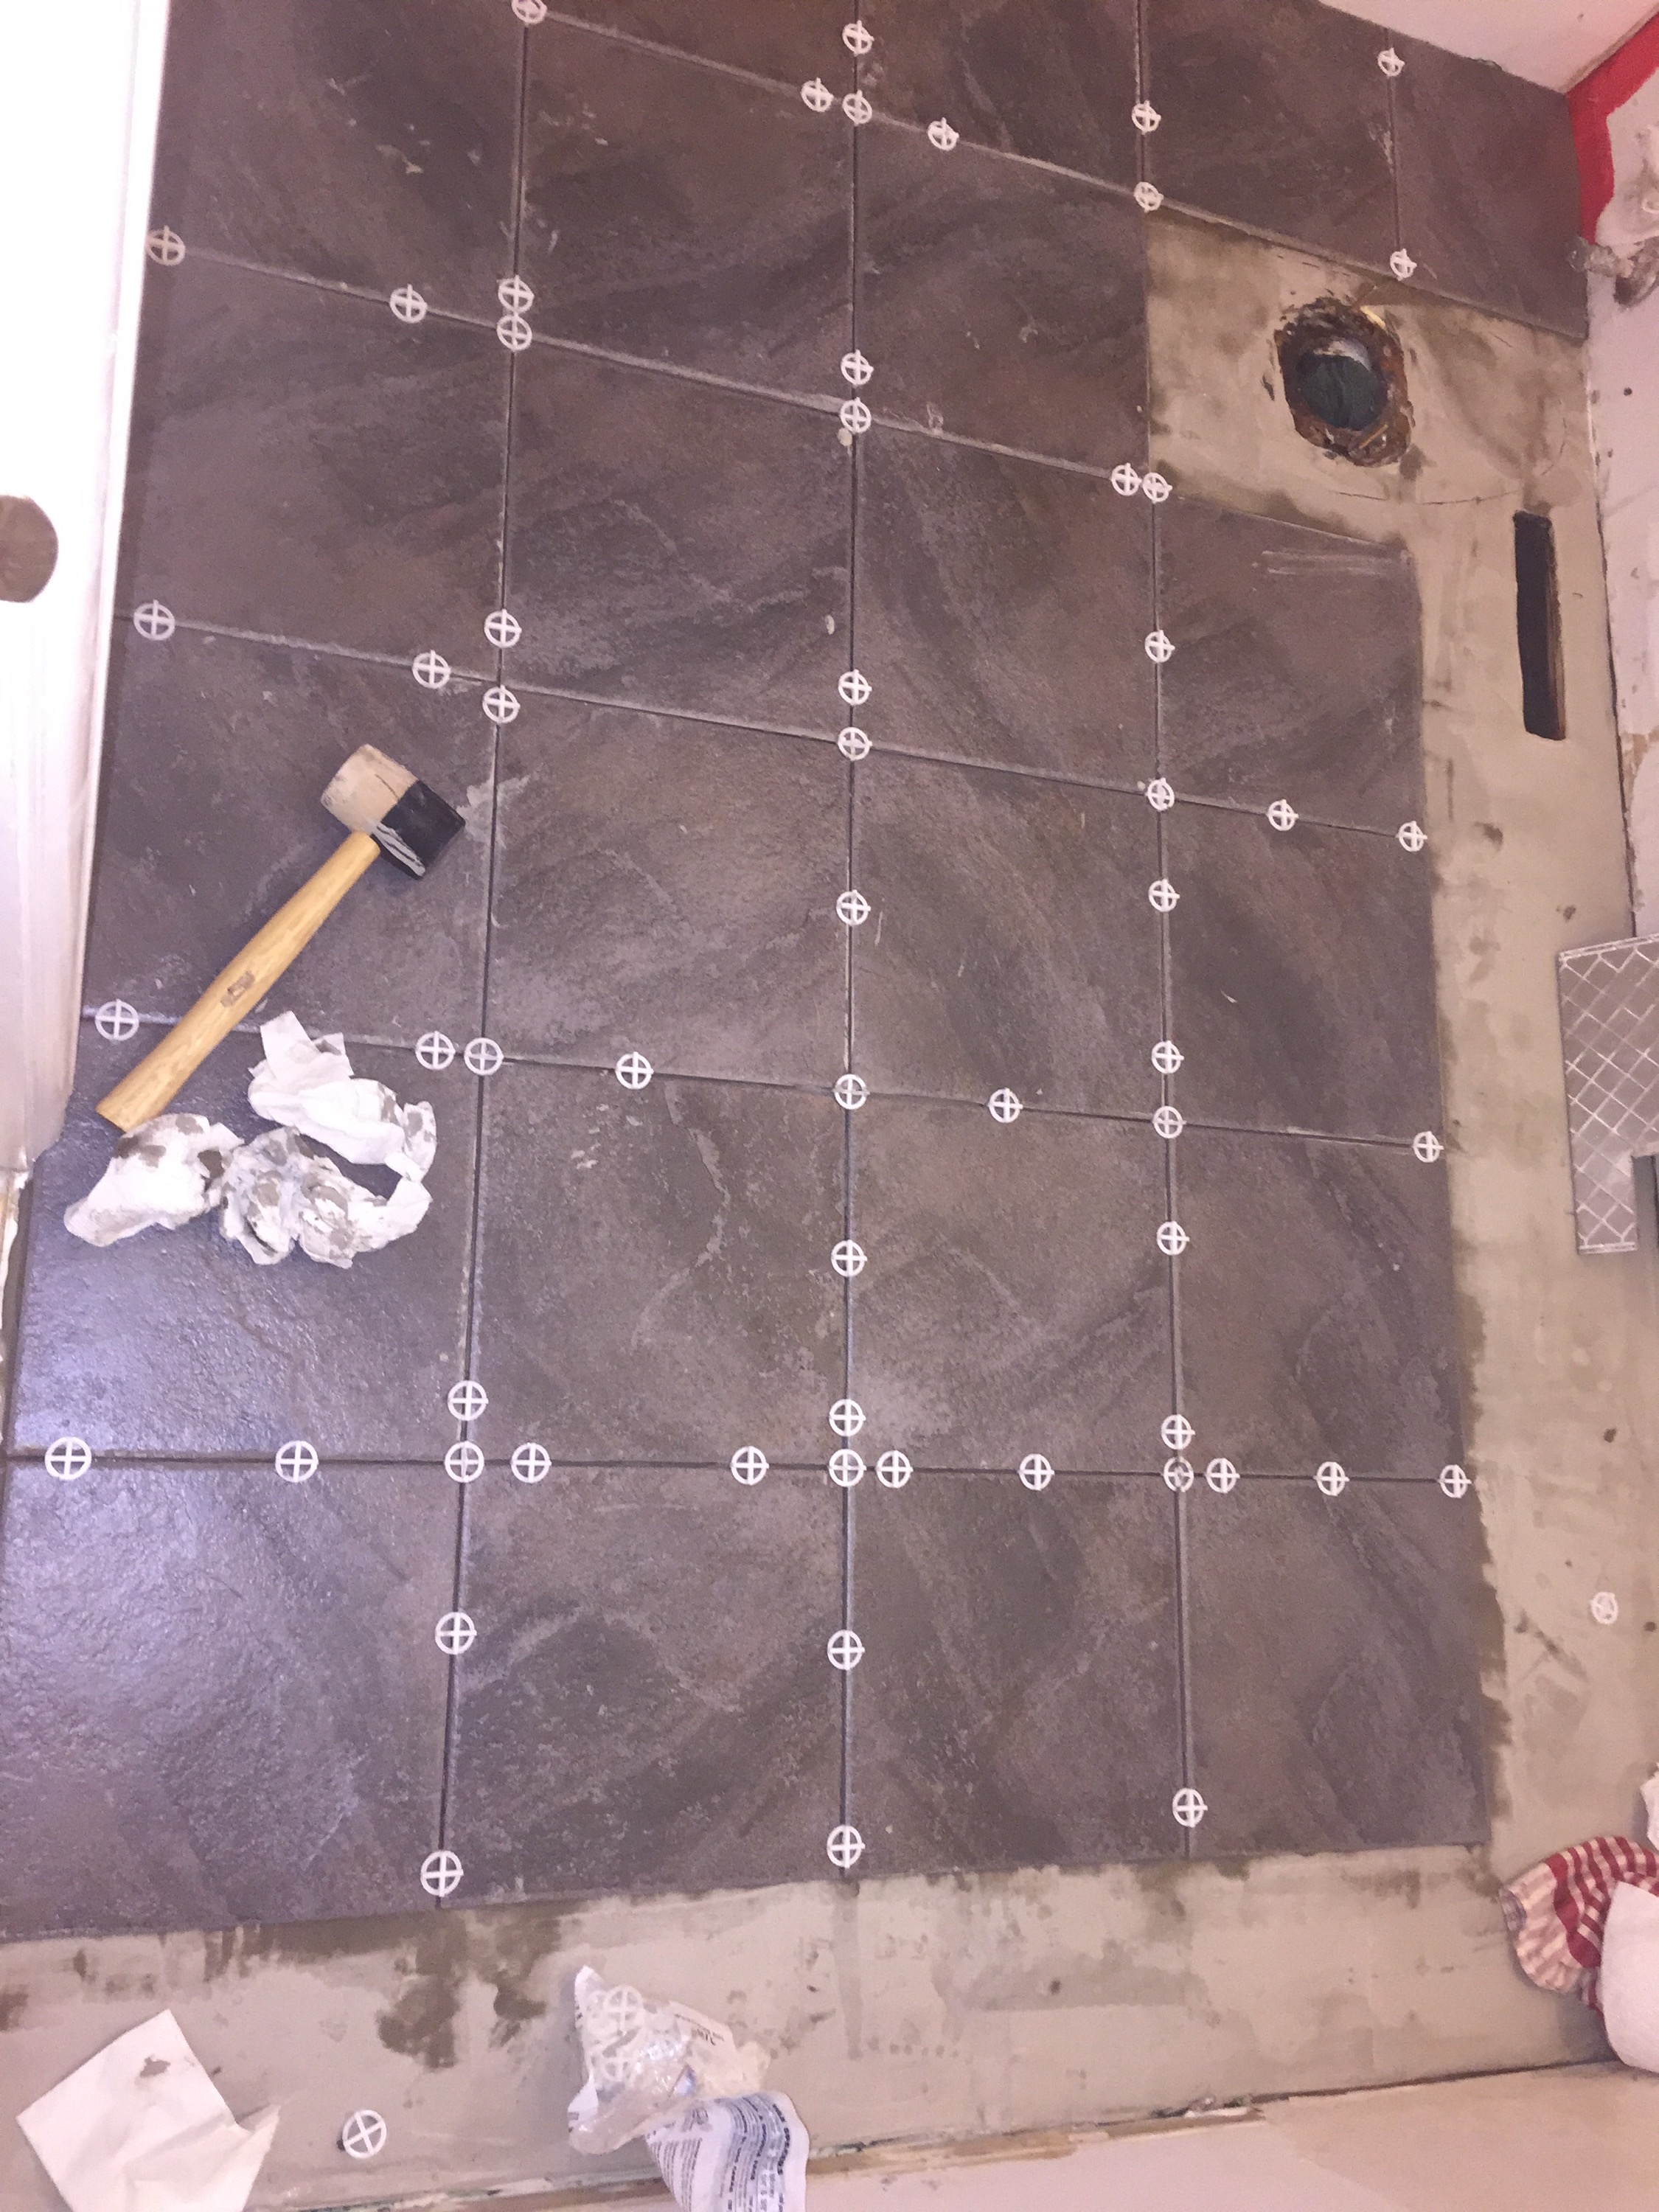
So that’s that, for now. There was some fun with archaeology the way there always is when you do any kind of renovation in an old house, as the little nook in the back appears to have had some built-in architecture removed at some point– there were tack strips nailed down across the middle of the floor and some weird traces of paint and one bit of wall with missing baseboards. The floor is otherwise undamaged, though, and as you can see it looks great.
Oh, and we just pulled up a corner of the carpet in our perfect rectangle dining room to reveal ordinary subflooring underneath, and I said the words “This would be the easiest hardwood flooring job ever, if we wanted to try it.” I don’t know why I said those words.
We hadn’t stopped working; I just decided a few days ago that I wasn’t doing any more updates until shit looked good.
Shit looks good.
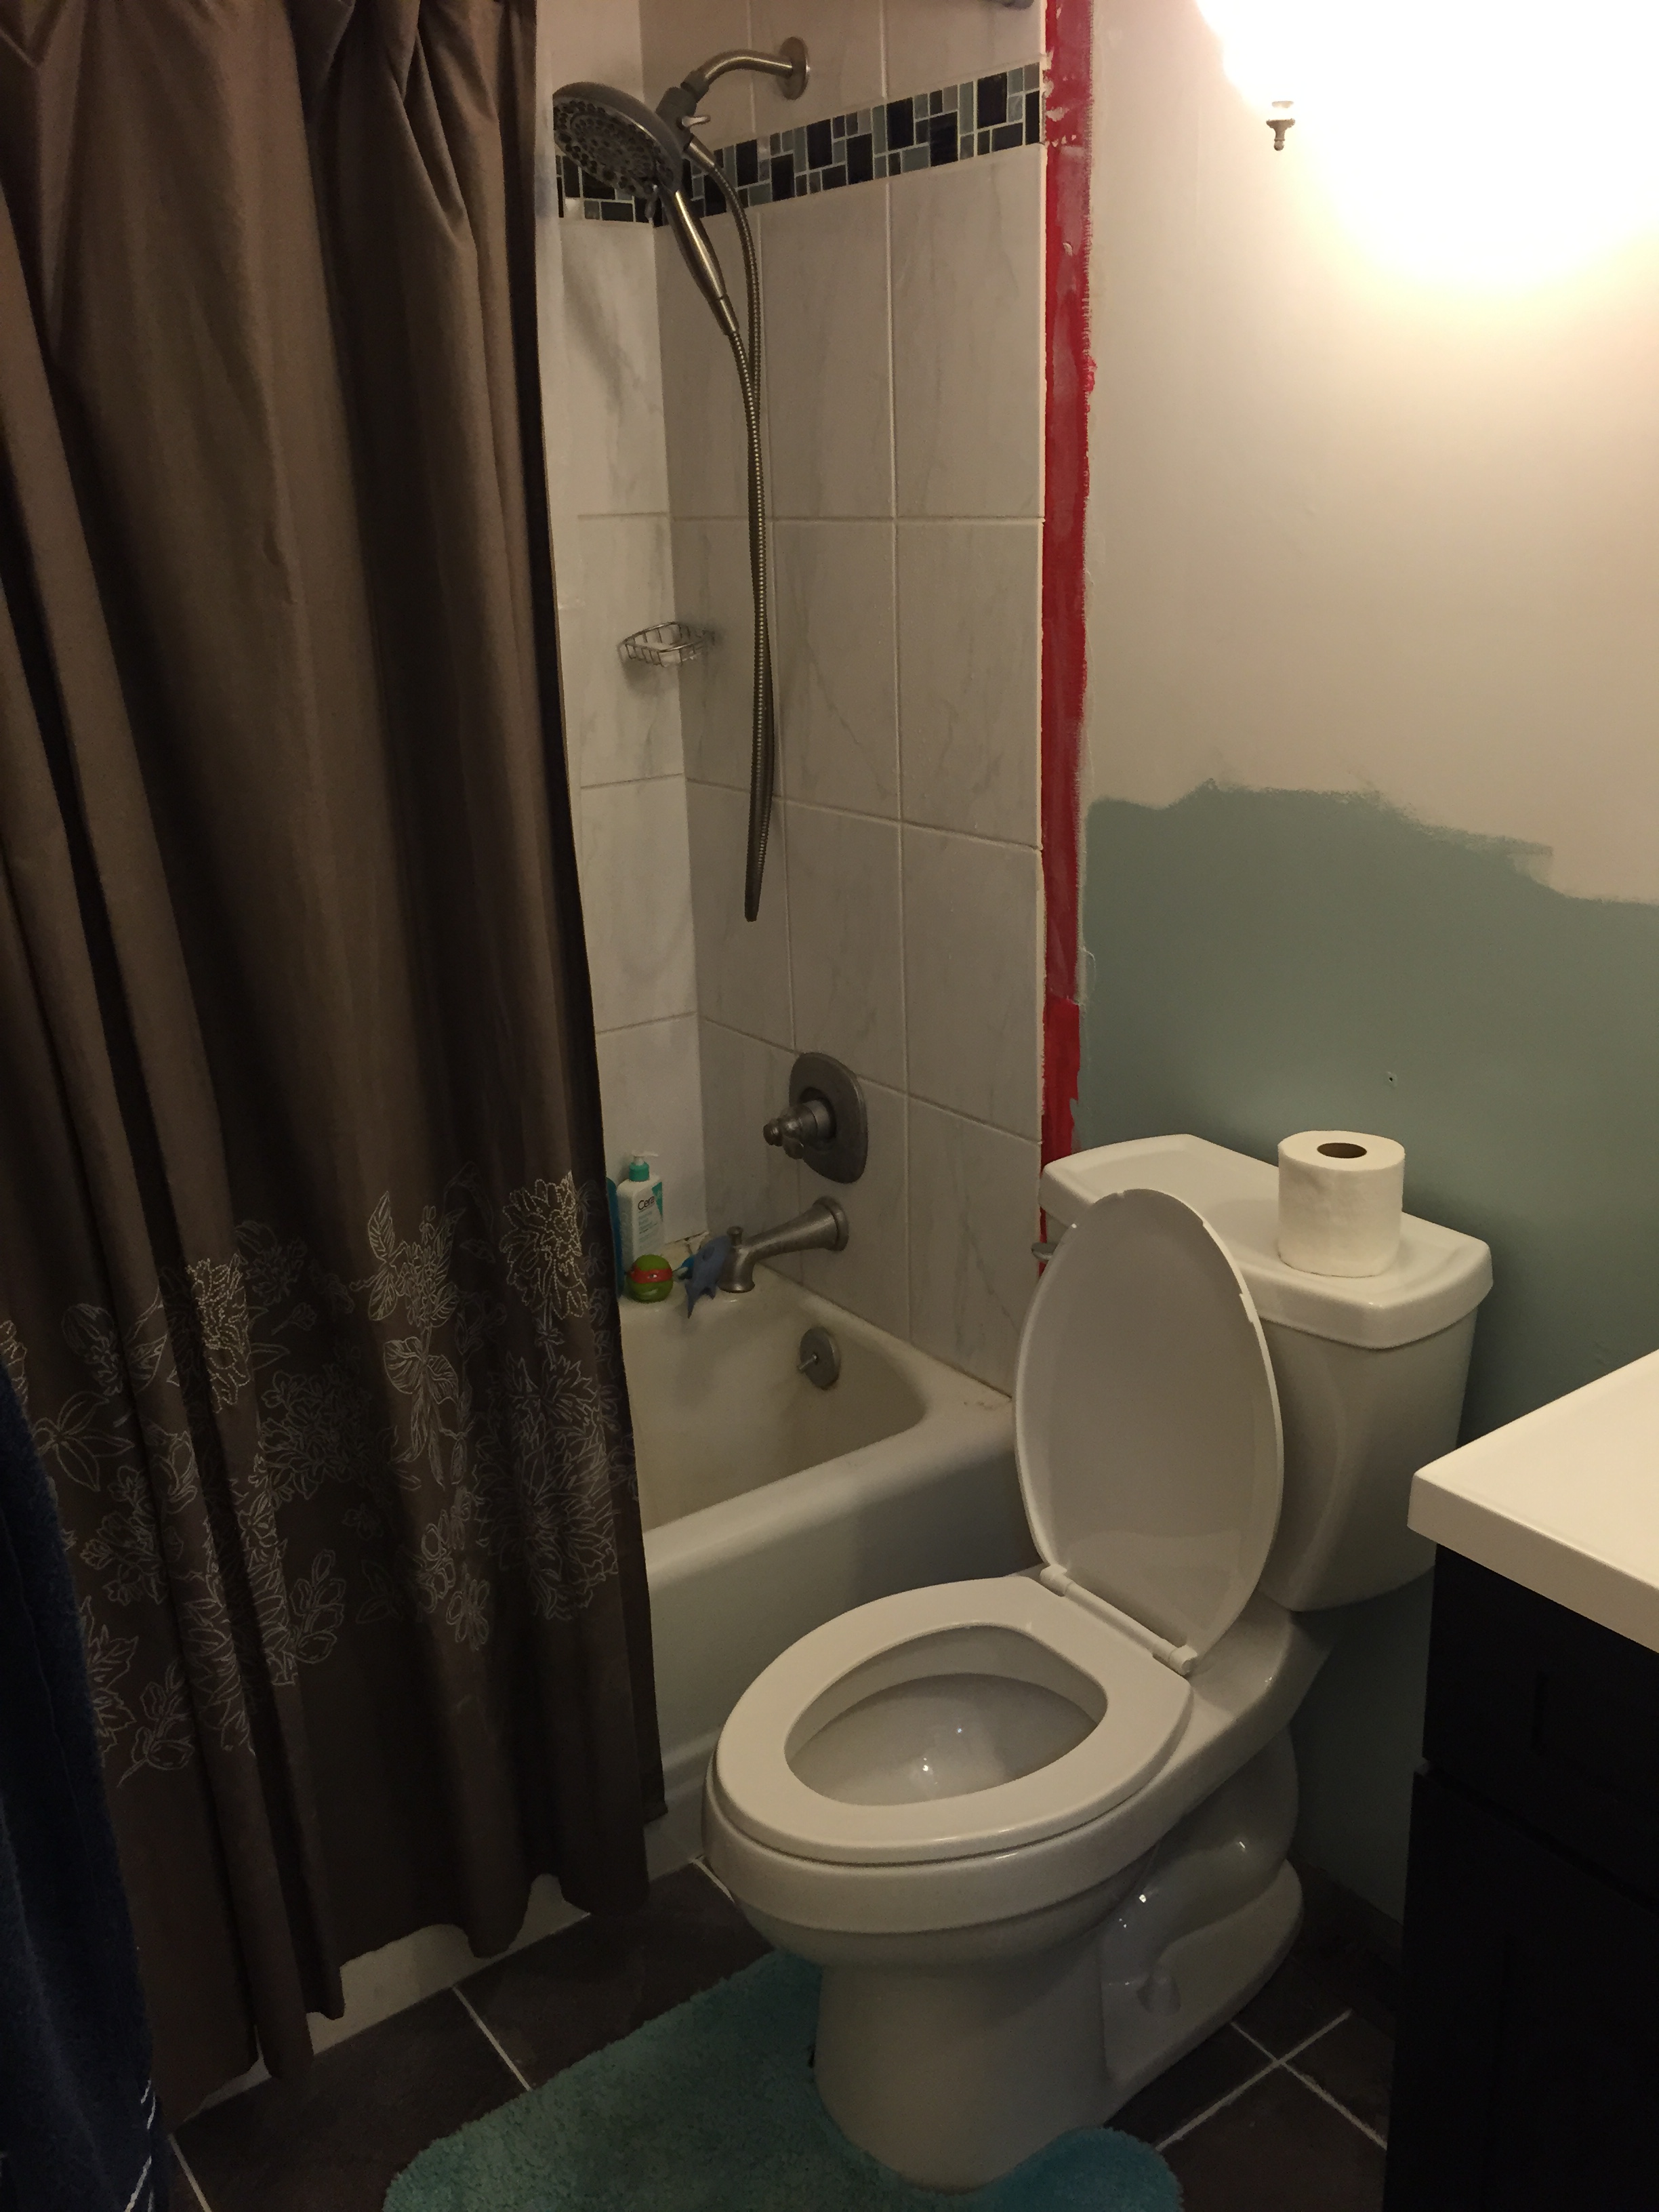 Another look at the shower tile (finished over winter break) and the new toilet. The new toilet is wonderful. If you shit God, God will be flushed. As a fat man, I appreciate this. The new toilet is not leaking. Did I ever show you the new floor tile? That’s not leaking either, but tile generally doesn’t do that.
 The new vanity and countertop. This… is a bit more of a problem. Everything you can see is not leaking, is hooked up, and works beautifully. Note that I also put new floor trim in, although you can’t see it too well. It’s just trim; trim’s not actually terribly impressive. But it’s there!

Closeup of the countertop and the new faucet. I love this countertop a LOT. I’m also glad that the vanity is taller than the old one, because it means that the boy’s going to have to grow a bit before he’s tall enough to splash water out of the sink, and hopefully by then he’ll be less likely to wantonly splash stuff around. Yes, the distance from the faucet to the electrical outlet is within code; yes, I’m also putting safety stops into the outlets when they’re not being used.
 This shit right here is not my fault. And it’s leaking. (And it’s better than it looks, because that one PVC join that is obviously crooked is not crooked any longer.) The supply lines to the faucet are working beautifully and appear to be watertight; the rest of it, not so much.
Basically it’s leaking at the one spot that is obviously bad, which does not surprise me, as joining those two pipes in that fashion was basically a kludge involving crossed fingers. The PVC-galvanized join is strong and so is the join where the trap joins with the pipe coming out of the wall. I need to talk to some folks who know better than me and come up with something better than the kludge. I also need to fix a new leak that popped up by the drain that wasn’t there originally, because in all the screwing around with the pipes I accidentally loosened the top (blue) pipe too much and now it’s leaking too.
I will wait a few days, do some research and some thinking, and then take another shot at this, and if I can’t get it right the second time I’ll just suck it up and call a plumber. I’m not actually upset about this; it’s leaking at a spot that I knew was dodgy and it’s not leaking enough that it renders the sink unusable. If I need to wash my hands or my face in that sink, it’ll be fine; the pot underneath will catch the small amount of water that comes out. I just want it perfect.
Later this week, we’ll get into what Phase 3 entails. Phase 3 is the final phase.
So the big job today was to pull the sink. This is the sink; by the time I took this picture I had already removed the doors from the front of the vanity to make getting at the rest of the thing easier:

I’ve never actually disconnected a sink from a wall, mind you, so (much like every other step in this process) I’m being real careful to make sure not to fuck anything up along the way. First step in pulling a bathroom sink is to turn off the water. I didn’t get a picture, because cutting the water to the toilet was a piece of cake. The shutoff valves for the sink, on the other hand, were 1) stuck and 2) started crumbling in my hand when I tried to apply a bit more force to them.
I don’t know much, but I know when I’m about to make a big mistake, and shearing the shutoff valve sure as shit sounded like a big mistake. So, maybe ten minutes into the big job of the day, I called a halt and called a plumber. That was at maybe 9:00 this morning or so; it’s 3:15 now and the plumber left about half an hour ago, so yay for folks who can get out quickly. The plumber disconnected the sink for me and replaced the shutoff valves, all the while swearing at the shitty plumbing job the builders had done– which is not the first time I’ve heard that. Every plumber who has ever entered this house has left wanting to travel back in town and beat hell out of the dude who built the place.
There was some careful examination of the way the sink attached to the vanity, because it looked like the most obvious way to pull the sink out had a good risk of dropping it through the countertop, potentially wrecking my new shutoff valves. This seemed bad.
So I went with the second most obvious way, and just grabbed the countertop and yanked. Amazingly, it worked:

Just in case you were wondering if this was a quality vanity or not:

And then we pulled the rest of the thing, and the swearing started, and the swearing really hasn’t stopped yet; I’m actually swearing uncontrollably under my breath while I’m typing this, because this fucking bullshit was what was under the vanity:
Make sure you look closely, there, and note that several of the long broken pieces on the right there actually match missing pieces elsewhere on the tile, meaning that they tried to pull up the tile, gave up quickly, and then just threw the shit under the vanity.
 Also, five will get you twenty that that’s asbestos tile, and it’s also a good quarter-inch lower than the rest of the floor, meaning I have to redo my flooring plan again. I’m hoping I can just find a piece of plywood of the right size and slap the fucker in place, because otherwise I’m going to have to pull the entire floor, because unless I miss my guess those tiles are made of cancer.
Take a wild guess how happy I am right now.
I got it into my head to do some home improvement today. My wife and I have figured out the schedule for the bathroom and expect to have all major renovations completed by Martin Luther King weekend and to repaint during Spring Break. That sound you hear is God laughing; longtime readers remember how long tiling the bathroom took.
I started off with simple stuff:
 I really, really tried to get my son to ask for either the Captain America’s shield or Mjolnir variation of this nightlight, but he wasn’t having it; it was Iron Man’s hand or nothing. The sticker was actually the biggest pain in the butt on this one; additional fun was had upon realizing someone had stolen the hardware out of the particular box we’d purchased, and additional additional fun was had upon realizing that the two places in the back where you mount the screws are different sizes, one far too small for any other screw I had, so I had to get creative with a nail. Whatever, it’s solidly attached and not going anywhere unless we want it to (the batteries will need changing eventually) and the kid loves it so screw you, nail.
Then a minor improvement to the bathroom:
 It would have made sense to complete all the work before adding things like towel racks, but I’d gotten tired of having to walk across the bathroom to get my towel when I invariably forgot to put it on top of the toilet tank before my shower. This was actually a piece of cake to install; they include a paper template that you can attach to the wall with painter’s tape to make sure you drill the holes in the right places, and the design is pretty forgiving of minor mistakes anyway. This is also rock-solid and not going anywhere.
On to the day’s big project. Our microwave is from 1992. It came with the house. It still cooked food, which is, after all, the primary purpose of a microwave, but the light underneath it had gone bad (not the bulb, the light itself had died) and the button to make the fan work was getting increasingly more difficult to deal with, and being from 1992 it didn’t have a turntable, so it was time for an upgrade.
It would have cost an additional $114 to have them install. “Scoff!” I scoffed. “I retiled my bathroom! I put a stereo into my car! I can do this!”
Step the first: tear out the old microwave. This took a bit of time, not because it was difficult but because we wanted to make sure that at no point did the microwave fall out of its spot in the cabinets, so we had to make absolutely sure we knew where all the appropriate screws were and what they’d loosen before we pulled them off– because, see, if the microwave ever falls, it lands on our countertop range, which is glass, and then we’re out $1300 for a new one. So we gotta be careful.
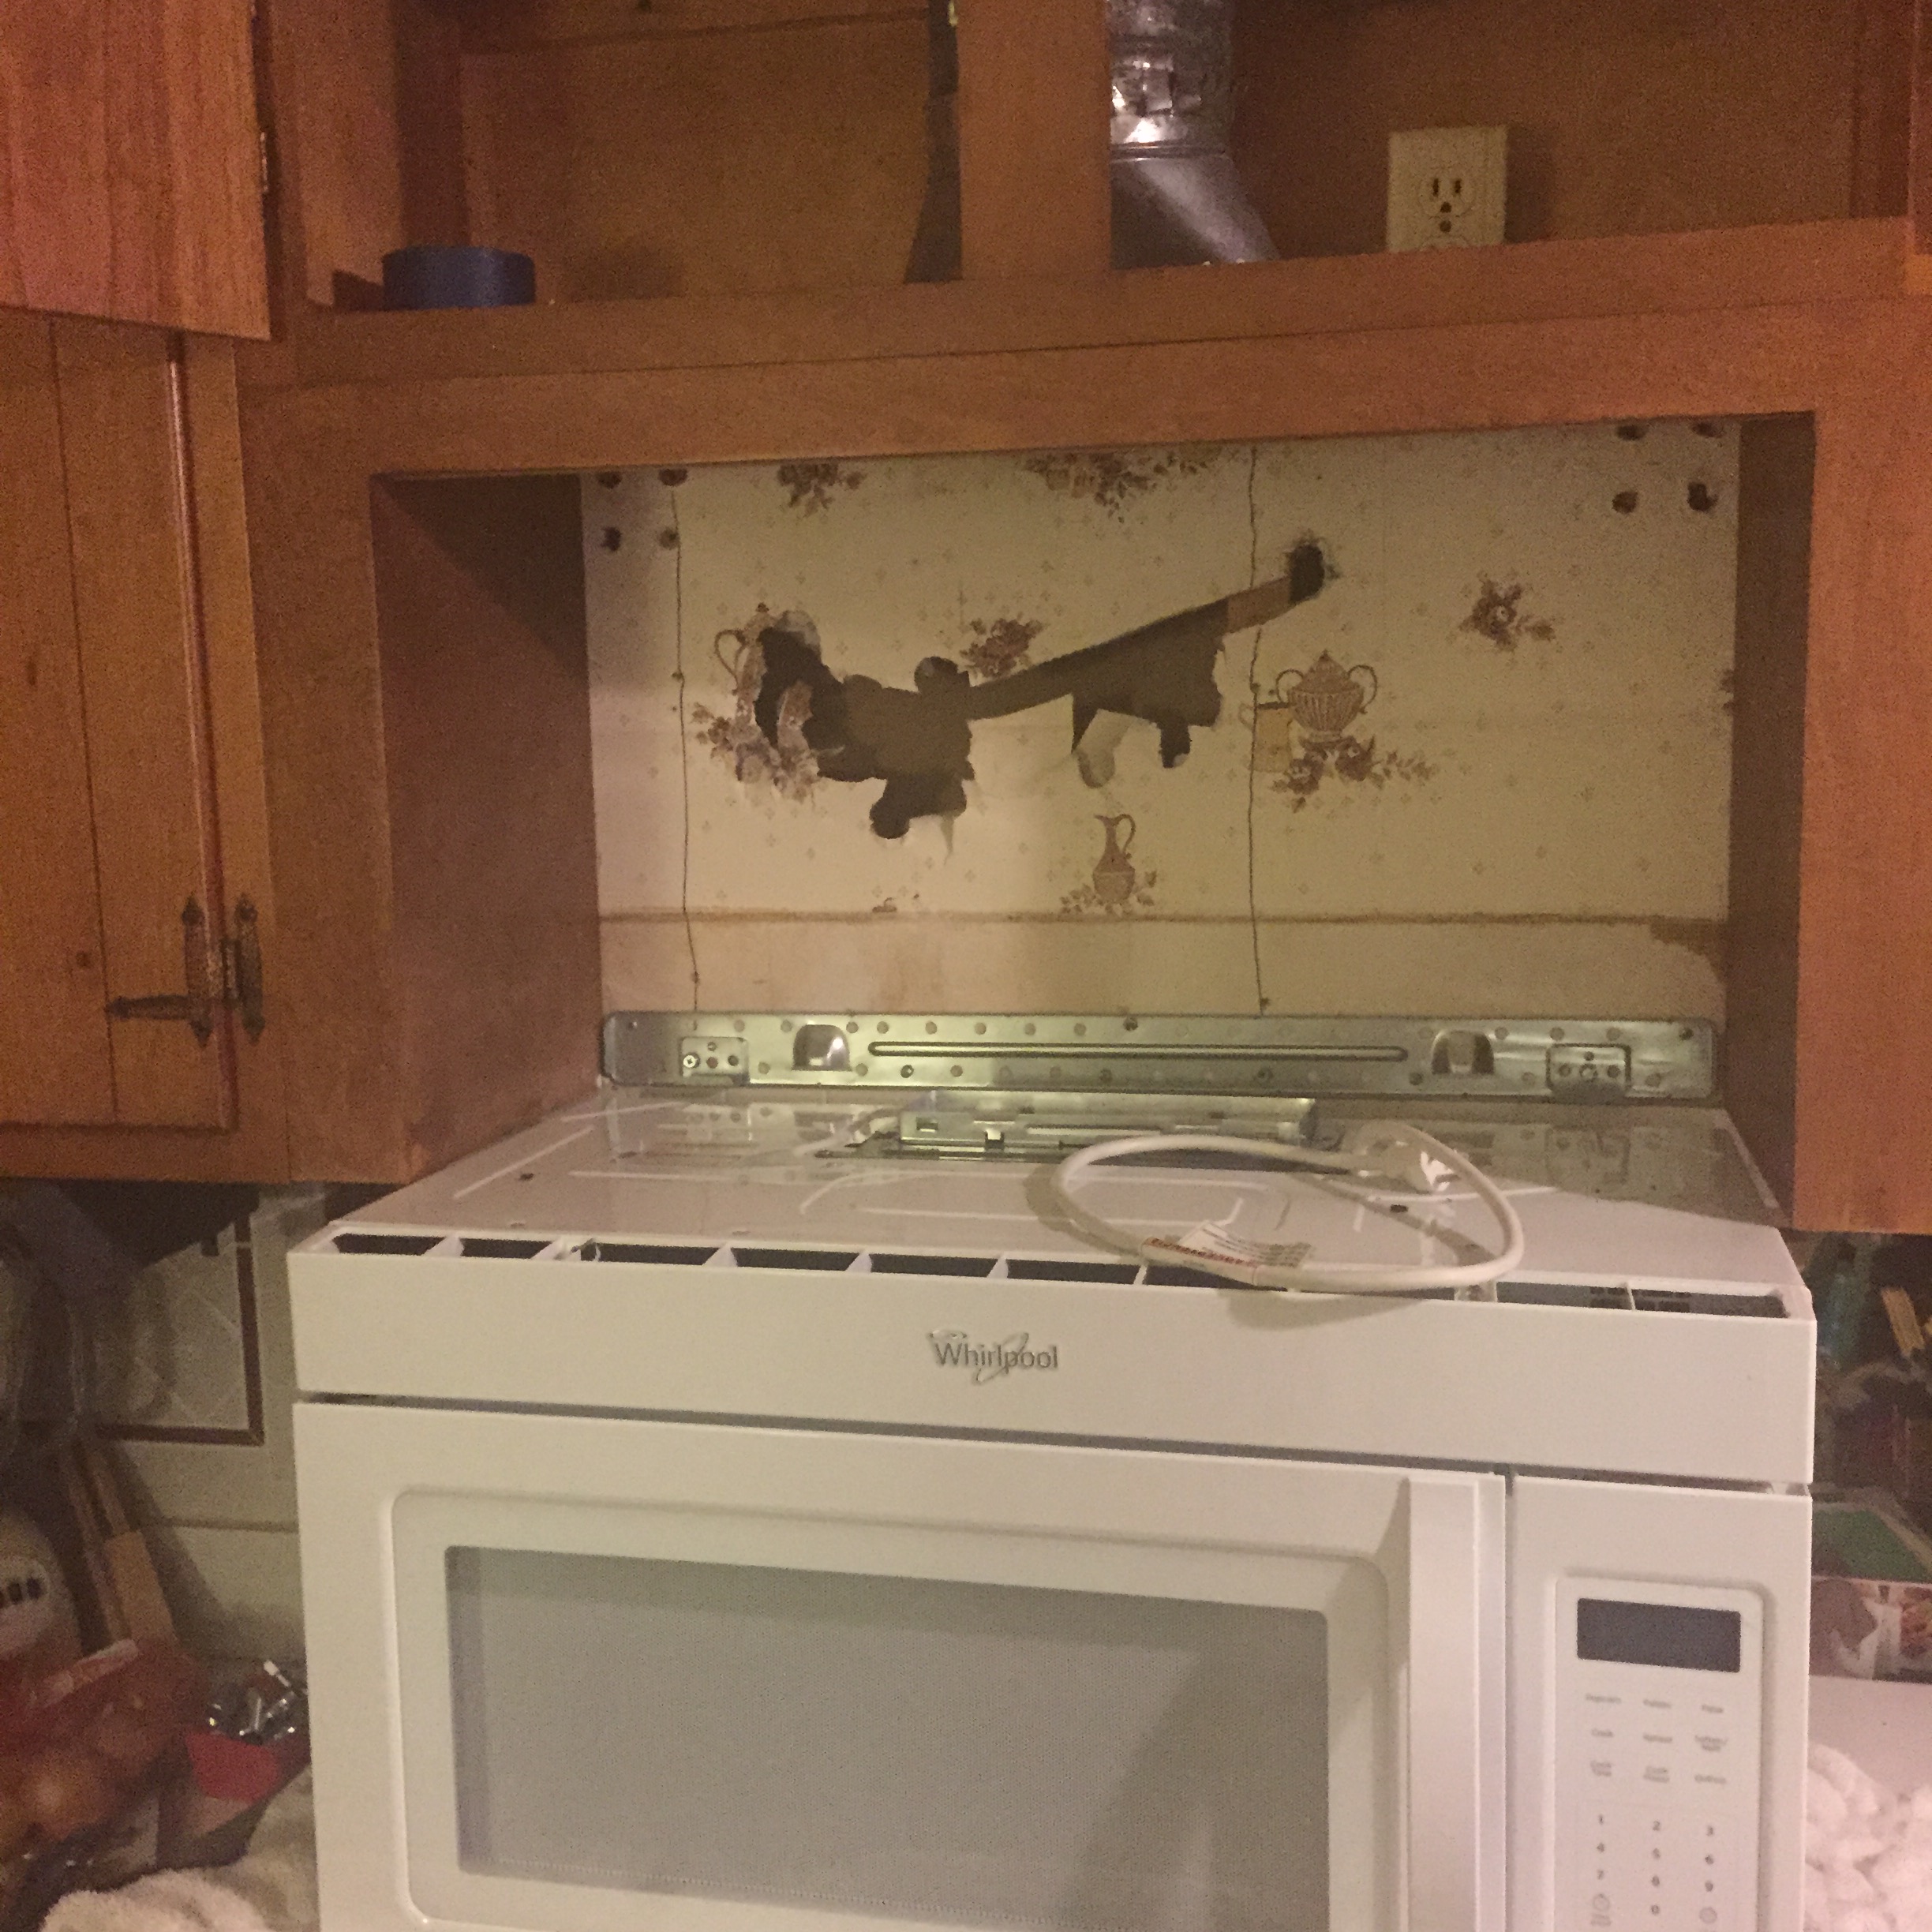
I failed to get a picture of the old microwave in situ. Here’s what the hole looked like, with a few holes bashed in the drywall behind it to make sure I knew where the studs were:
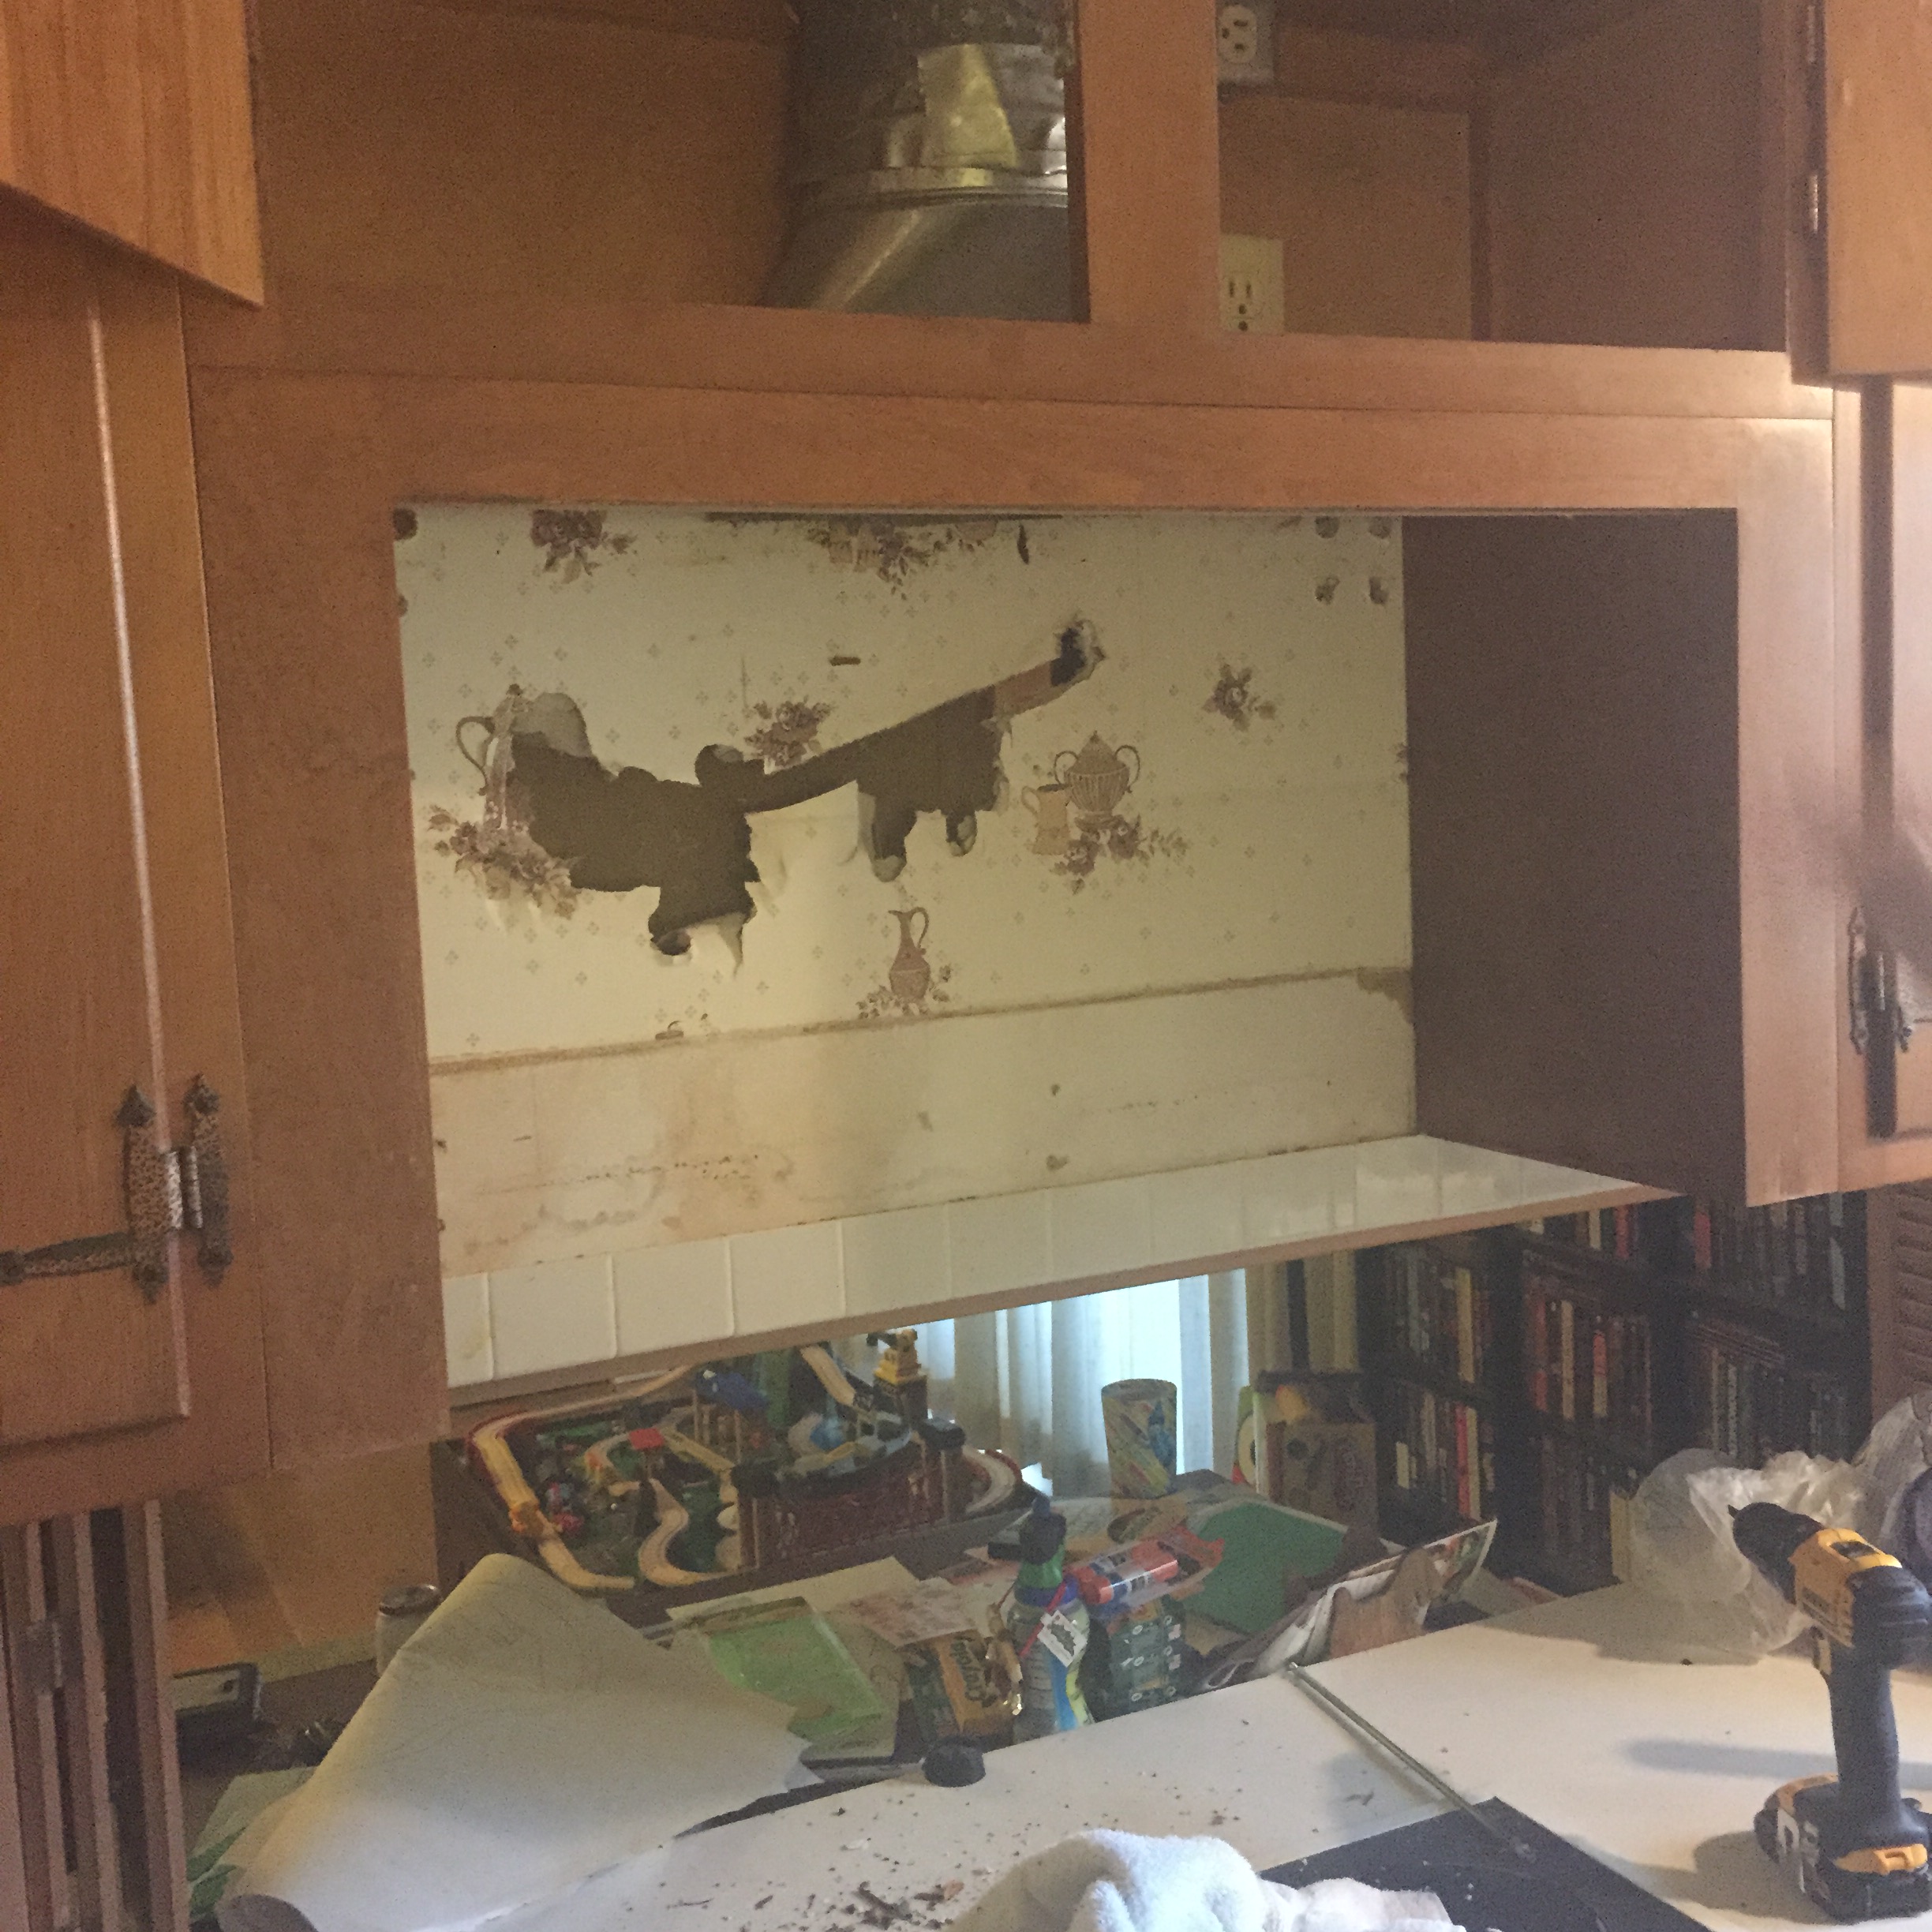 To make sure you appreciate it, a close-up of what was apparently the kitchen’s original wallpaper:
 The old microwave, consigned to the garage until we figure out if it’s legal to just throw it in the trash:
 Wanna see what 22 years of never cleaning the exhaust fan on your microwave looks like? I only threw up six times:
 At this point there was a pause, to very carefully read and understand everything and use the templates they gave us and make sure everything was going to work properly. The actual installation itself wasn’t any more complicated than drilling a couple of holes and mounting the wall bracket against the back wall; not a big deal.
Take a look at that picture of the hole up there. See that piece of trim running horizontally underneath the cabinets? That was causing us some problems, as the lag bolts they gave us to mount the microwave under the cabinets weren’t quite long enough. So Dad and I ran out to Lowe’s to come up with a better solution. We came up with something we both thought would work and came back, ready to have a working microwave ten minutes later.
Ha.
The problem we hadn’t noticed: the template for the back of the microwave fit perfectly on the back wall. We knew that the trim was going to cause problems and bought appropriate bolts. It didn’t hit us until trying to mount the thing that we couldn’t actually install it flush because the template against the wall extended up higher than the trim. So the microwave was at maybe a 20 degree tilt forward, meaning that the only way I was going to get it to hold in place was with bungee cord.
The trim had to come out.
I’ll spare you the details; there was lots of consternation about whether the trim in any way represented structure (don’t think so; at this point really hope not) and how best to get it out without noticeably damaging the cabinets around it. The thing was screwed in place in some really weird ways and getting it out required some creative use of my dremel and the new drill bits I’d bought to install the towel rack. (Yes, I was at the hardware store twice today.) But eventually it came out and as of right now, an hour or so later, the microwave hasn’t pulled all of our cabinets out of the ceiling yet, so I think it’s installed properly. The fan ducting even lined up right, although the original owners installed the duct backwards so I need to go in tomorrow and retape everything. But we have a working microwave again!
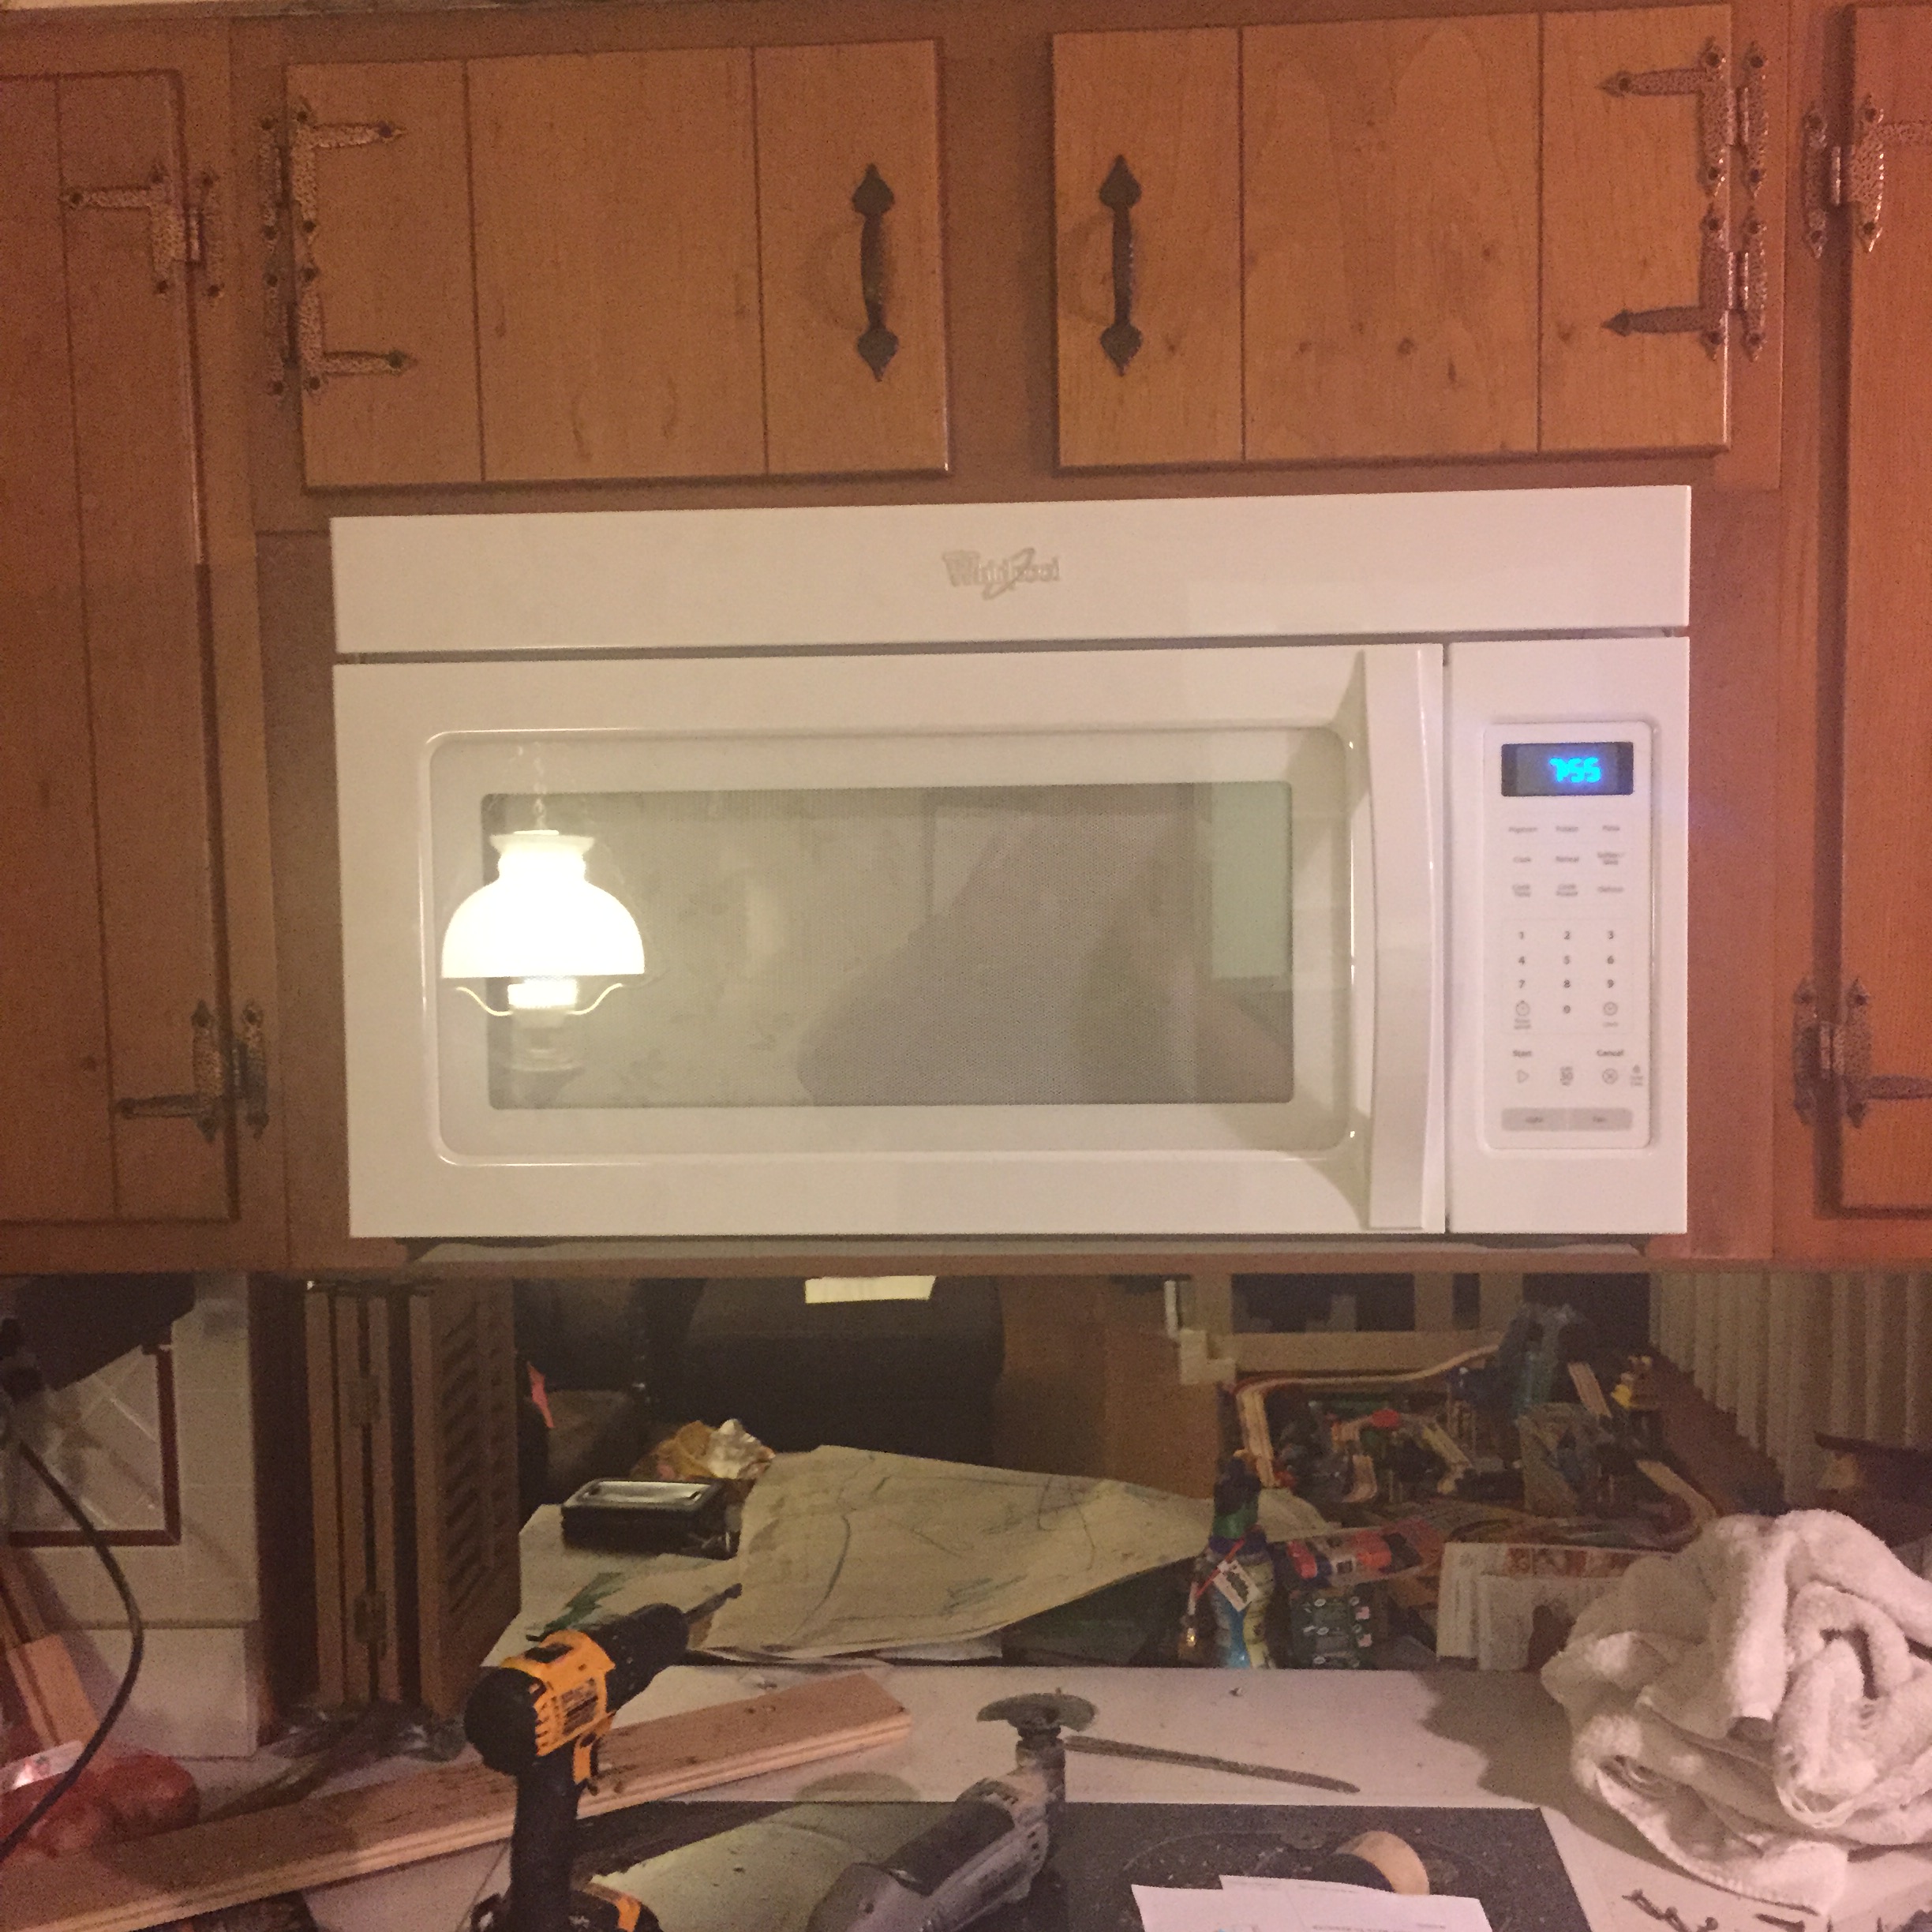 And there was much goddamn rejoicing.
Books of 2014 post tomorrow, I swear.
 Okay, the habit my wife and I share of taking forever to get shit done because we like to make sure we know exactly what we’re doing before we get into stuff
 and also we’re lazy and work six days a week has caused this project to take so, so, so much longer than it should, but you can’t really argue with results, can ya? Sooner or later the grout will cure and then we can actually goddamn shower in there again!
And soon winter break will roll around and we can destroy the rest of the bathroom and start this all over again.
So psyched.