In which my day refuses to start

Hellaciously busy evening last night; I didn’t get home from OtherJob until after midnight, then got up a bit after 8 this morning and spent some time lying on the couch and moaning.

Most of today will be spent tiling, and I mean that f’reals this time, since the measuring that took up most of Thursday is already done.  One big difference: today will involve cutting tile, which gives us a whole new way to screw stuff up.

So… whee?

Whee.

Pictures and the usual as the job goes on.  Or, y’know, the sudden ending of all life on Earth.

Terrible Decisions: oh shut up

20140724-225655-82615592.jpg

Yes, these 12 tiles and one row of mosaic represent a day’s work. Mostly because my wife spent about ten hours carefully measuring and marking everything off with lines that I proceeded to mostly ignore or treat as vague suggestions while actually tiling. We discovered the hard way, but before doing actual damage, that you can’t put a full tile that size over mosaic until the mosaic is fully dry, which is why the area above the mosaic looks mopped down: it was.

More Saturday, I think.

In which I do the math

keep-calm-and-do-the-math-25Okay.  That’s a 3.5 gallon tub of RedGard.  Per Google, 3.5 gallons is 808 cubic inches.  Let’s assume that between the rollers, the paintbrushes, the paint tray, the sides of the container, etcetera that a full third of the RedGard has ended up wasted in some way or another.

Therefore there are 808 x .66 = 533.28 cubic inches of RedGard on the walls.

The two side walls are roughly 32 inches wide by 80 high; the back wall is 58 inches long by 80 high.  That’s 32 x 80 x 2 = 5120 square inches on the sides and 58 x 80 = 4640 square inches on the back for a total of 9760 square inches.

Divide the RedGard’s volume by the wall’s area to determine the thickness: 533.28/9760 = .0546 inches thick.

One mil is 1/1000 of an inch, therefore the coating of RedGard is 54.6 mils thick.

The coating is supposed to be 30 mils thick.

We good.

Terrible Decisions: Redrum edition

…and here’s what’s happening today.  This is after one coat of RedGard; there will be at least one more today and quite possibly two, depending on how well the second coat covers.  You’re not supposed to be able to see the letters on the cement board anymore and obviously the first coat didn’t manage that.

(The pictures are really blurry.  Don’t know why.)

photo 1photo 2

photo 3

It was determined that this was to be my wife’s job, as I have never been good at painting in any context, and painting with something that had been described as “runny mayonnaise” did not seem like optimal conditions.  (For whatever it’s worth, the texture is more like pudding– less gloppy than mayo– and Bek says it’s been applying just like paint, only heavier.  She’s not been having any problems.)

Next step is tile, although technically once the RedGard is on the shower is fully usable.  God please don’t let me fuck up the tile.  That should be next weekend.

Terrible Decisions: Well, That Wasn’t So Hard

We made waaaaay too much mortar:

20140622-131606-47766561.jpg

But! Seams are mortared and taped and the one piece of cement board that looked a trifle crooked in one corner is fixed. Next step: Redgard!

20140622-131709-47829688.jpg

Terrible decisions: holy crap I’m gonna die

IMG_1033I’m actually moderately more impressed by the destruction than the completed work.  Other than a couple of slightly dodgy joins– that wall on the left that you can’t see really well was a *bitch*– this actually went pretty well, if messy and somewhat longer than I expected, but I expected it to last longer than I expected, if that makes any sense.  I’m mostly posting this so you can see how effectively I’ve destroyed my bathroom, which I now have to get cleaned up before my son gets home and starts having to breathe concrete dust into his lungs.  I figure that might be bad.  This is actually the best picture of the work, because it’s so hard to get a good angle on that back wall, but you can see it in the mirror.

IMG_1032 Here you can get a look at the bad joins on the left side, there– I think they’ll be OK once I put some mortar into them. If not, I’ll just sell the house.  That wall turned out to be out of… plumb, I think?  There’s three joists over there and the third one in the middle is slightly bulgier than the other two, which gave me hell, and plus the tub itself is unlevel so even finding a good starting point was hell.  Plus that’s the wall I had to restructure so that I had something to attach the board to.  I’m lucky that the only problems are a couple of slight gaps.  I’m gonna have my father-in-law check my work before tiling, though.  And oh holy hell am I not looking forward to doing the wall with the faucet on it.

These last pictures are just so you can see my mess:

IMG_1031

And here’s the floor. Gotta go vacuum before the boy gets home.  Entertainingly, the vacuum itself requires vacuuming.

IMG_1034

Man, I’m looking forward to a shower.

Terrible decisions: not dumb yet

20140120-123821.jpg

One down, four to go.

Terrible decisions: the setbackening

p_SCP_074_02
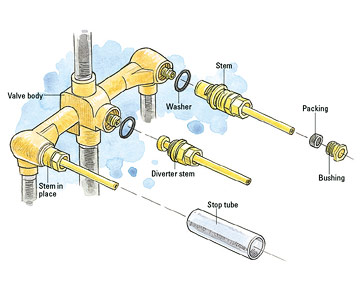
I knew this was going to happen, but it’s still disappointing:  the… rough-in valve, I think it’s called? (the plus-shaped thingy in the picture) for the new faucet and shower head does not appear to be terribly compatible with the one we have in place, so that all has to come out– and that is not, period, point-blank, no questions about it, work that I am capable of or interested in doing.  So we can’t cover that wall up until we get a plumber out here, and we can’t get a plumber out here until Friday.  So that somewhat limits the scale of the work we can get done today, but not in an unsatisfying way; it should still look like we got a crapton of work done by the end of the day if everything else goes well.

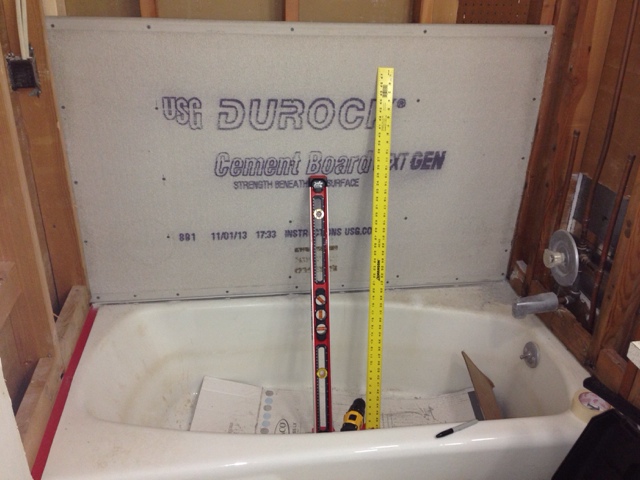
The new goal:  get the cement board up on the two walls that don’t conceal plumbing.  That’s all.  And by “up,” all I mean right now is measured, cut, and screwed into the studs; while I have the proper seam tape for the cement board, I’m not even sure I plan to do that today, since I’m still sorting out what seem to be conflicting opinions on whether the joins on the cement board actually need to be separately mortared, and if they do, if they’re mortared before or after applying the tape.  The dude at Lowe’s, who certainly sounded like he knew what he was doing, said that all we needed to do was tape the seams since we were tiling over it anyway and that we didn’t need to worry about joint compound; I’ve seen other sources that indicate that what we want to do is fill the seams, but what we want to use is the exact same mortar that we’ll use to install the tile.  I feel like this makes one step into two steps in a way that doesn’t feel necessary, but I’ve not done enough reading to be confident yet on anything other than “definitely don’t use regular joint compound,” which is fine, because we didn’t buy any.

I’m confident on the measure/cut/screw part, which also involves a tiny bit of restudding (just adding a couple of support points for the cement board in places that are weird) and setting up a j-channel around the tub that will keep the cement board from resting on the tub.  That should be enough for one day.  We have to go get the boy at 4:30; that leaves us seven hours.  Doable, I think.  We’ll see.

There will be pictures later, of course, as I either fix things or destroy them.  Or the world will be enveloped in flame.  It’s a crapshoot!
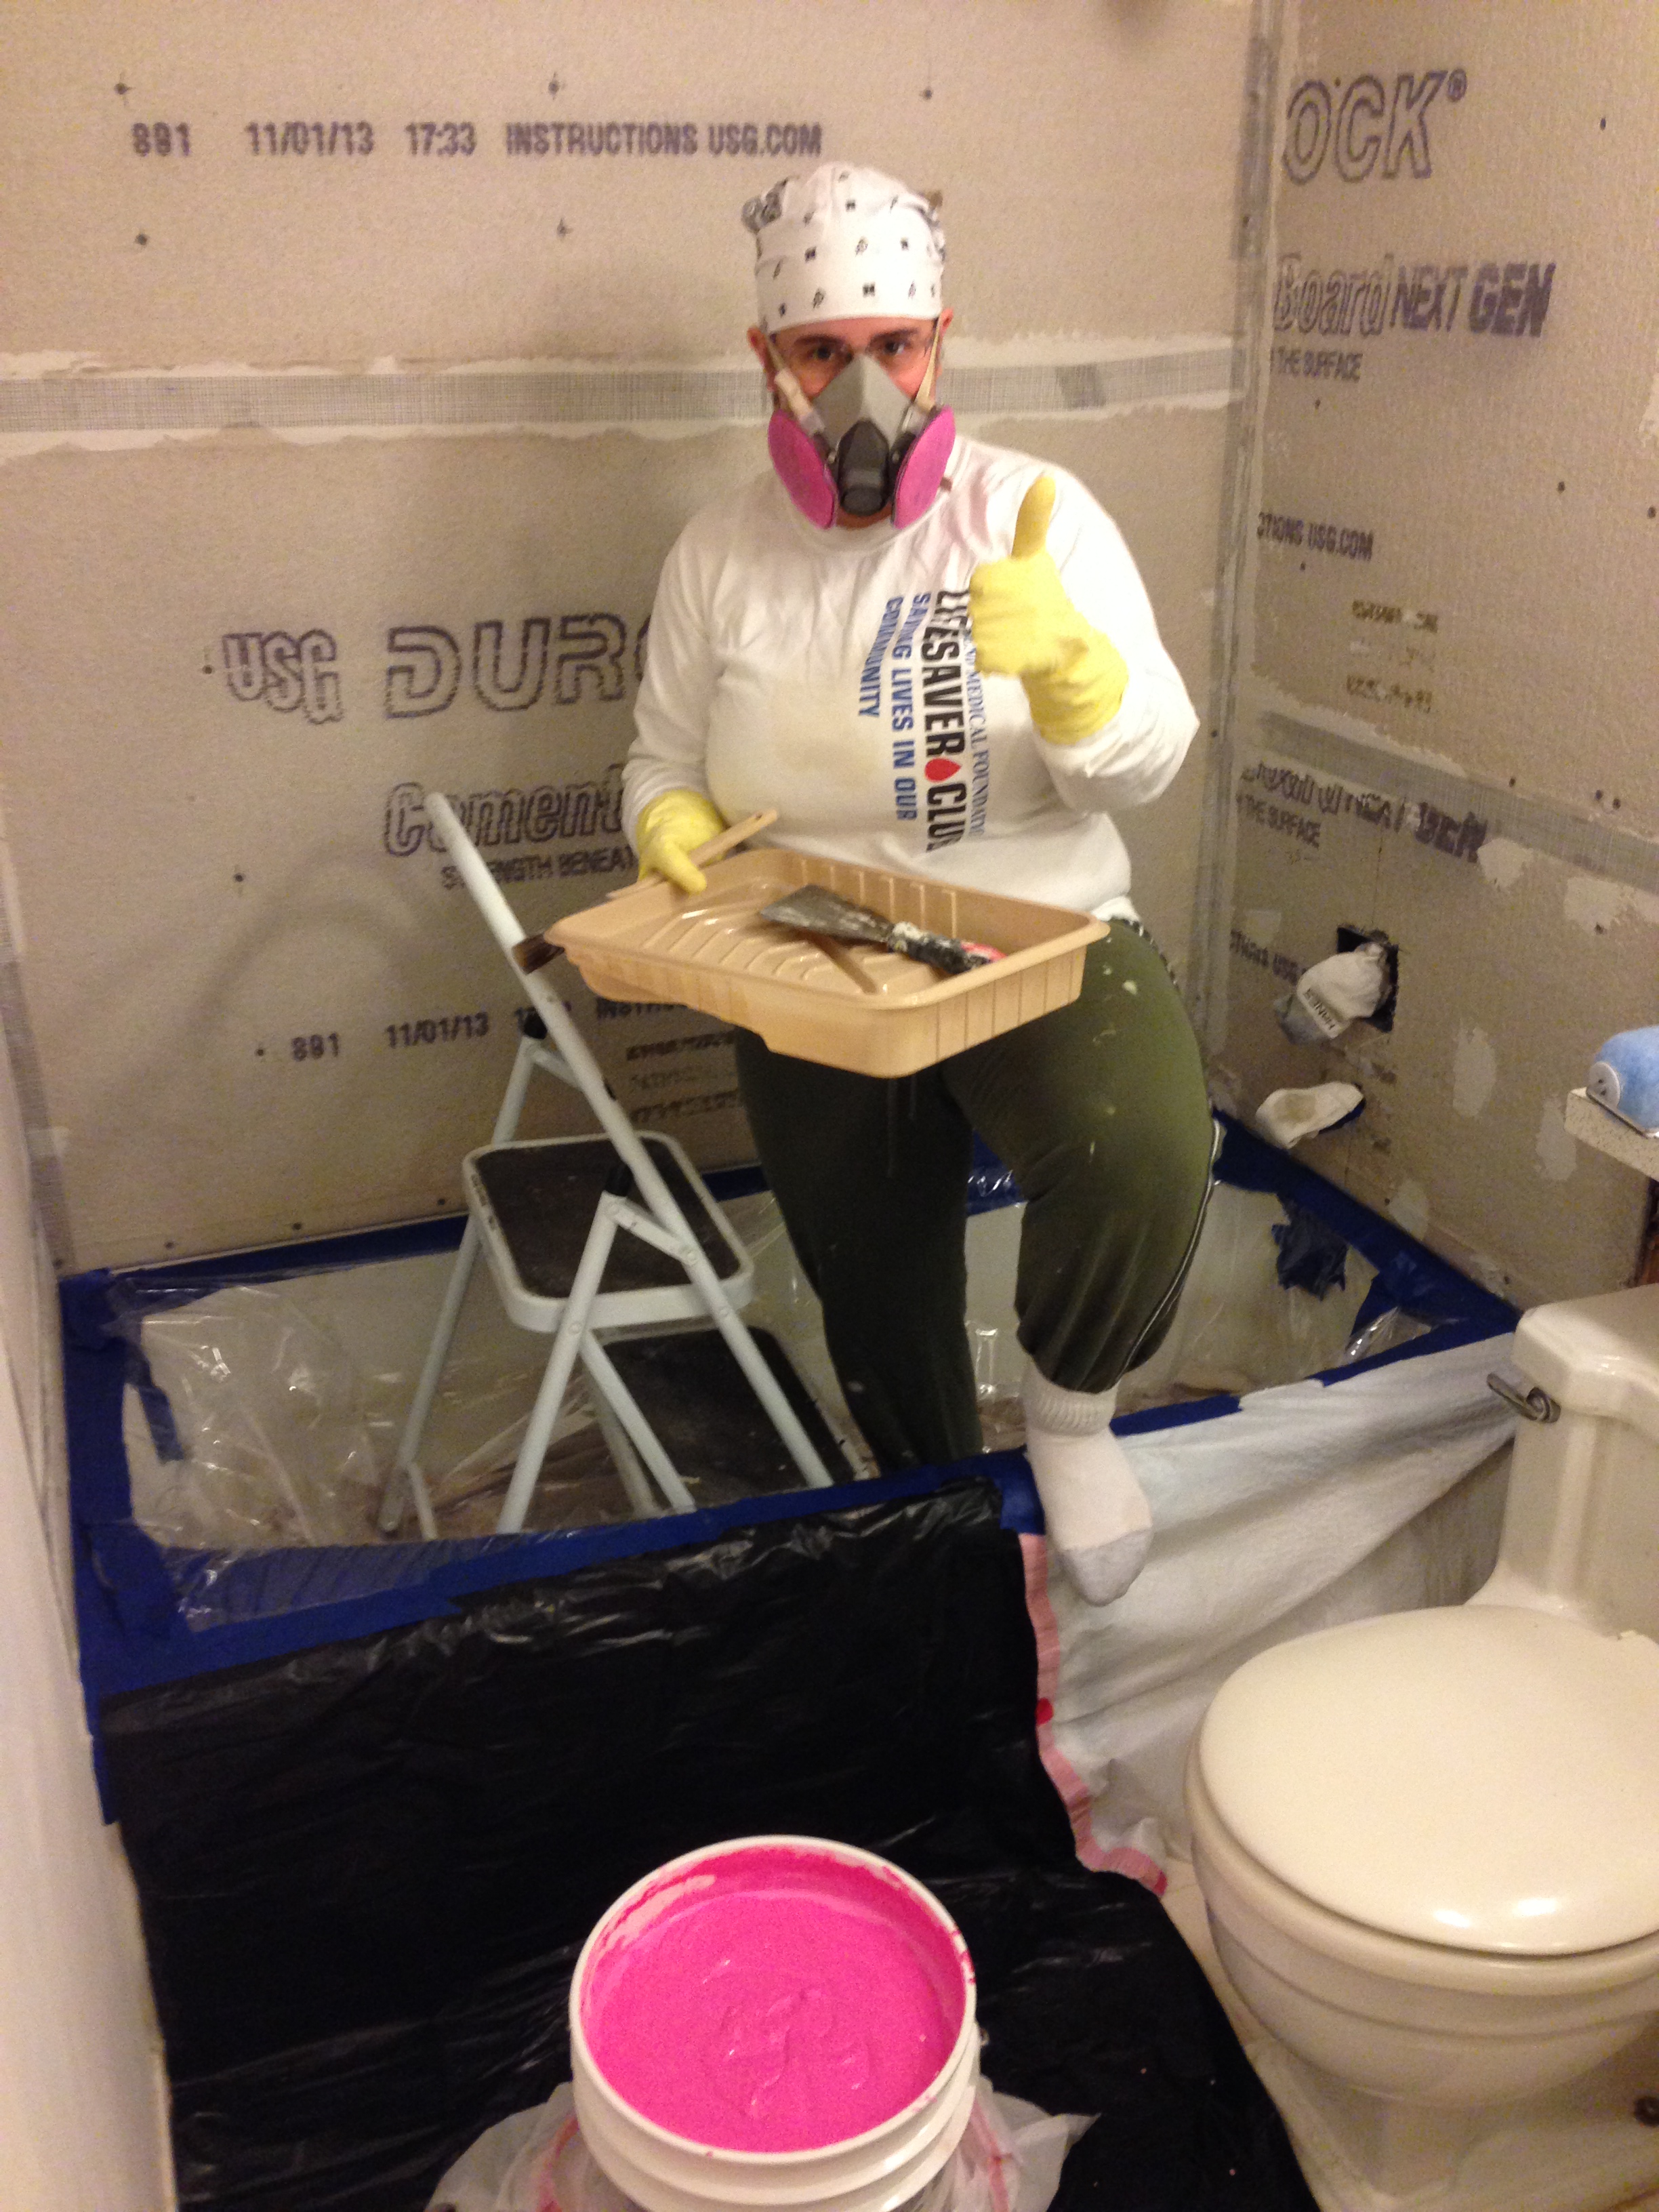